I went to Zesta Grande at 924 Gilman on Sunday. I brought an Olympus Stylus Epic DLX camera I had never used before and a few rolls of film. The first one I started with was a roll of FujiFilm 400. I was a bit nervous because I had never used the camera and unsure if it would function normally. I read good reviews, so I had high hopes. First off, I want to mention I had a great time at the show! Killer bands and everything ran smoothly. I had also not been to that venue in ages! And it was wonderful to bring such a light camera that fit right into my fanny pack! I usually bring my big Canon with external flash, and it always makes my hand ache. The convenience of the little film camera was a game changer, for sure!
I dropped the roll Fujifilm 400 off at Mike’s Camera yesterday. I also dropped of a B&W roll of Lady Grey, but I was told they are backed up on B&W developing and it could take up to two weeks. I do want to rant at how pricey it is to develop film and get them scanned! $19.99 per roll! I really need to be developing myself again, but I will save that discussion for another day.
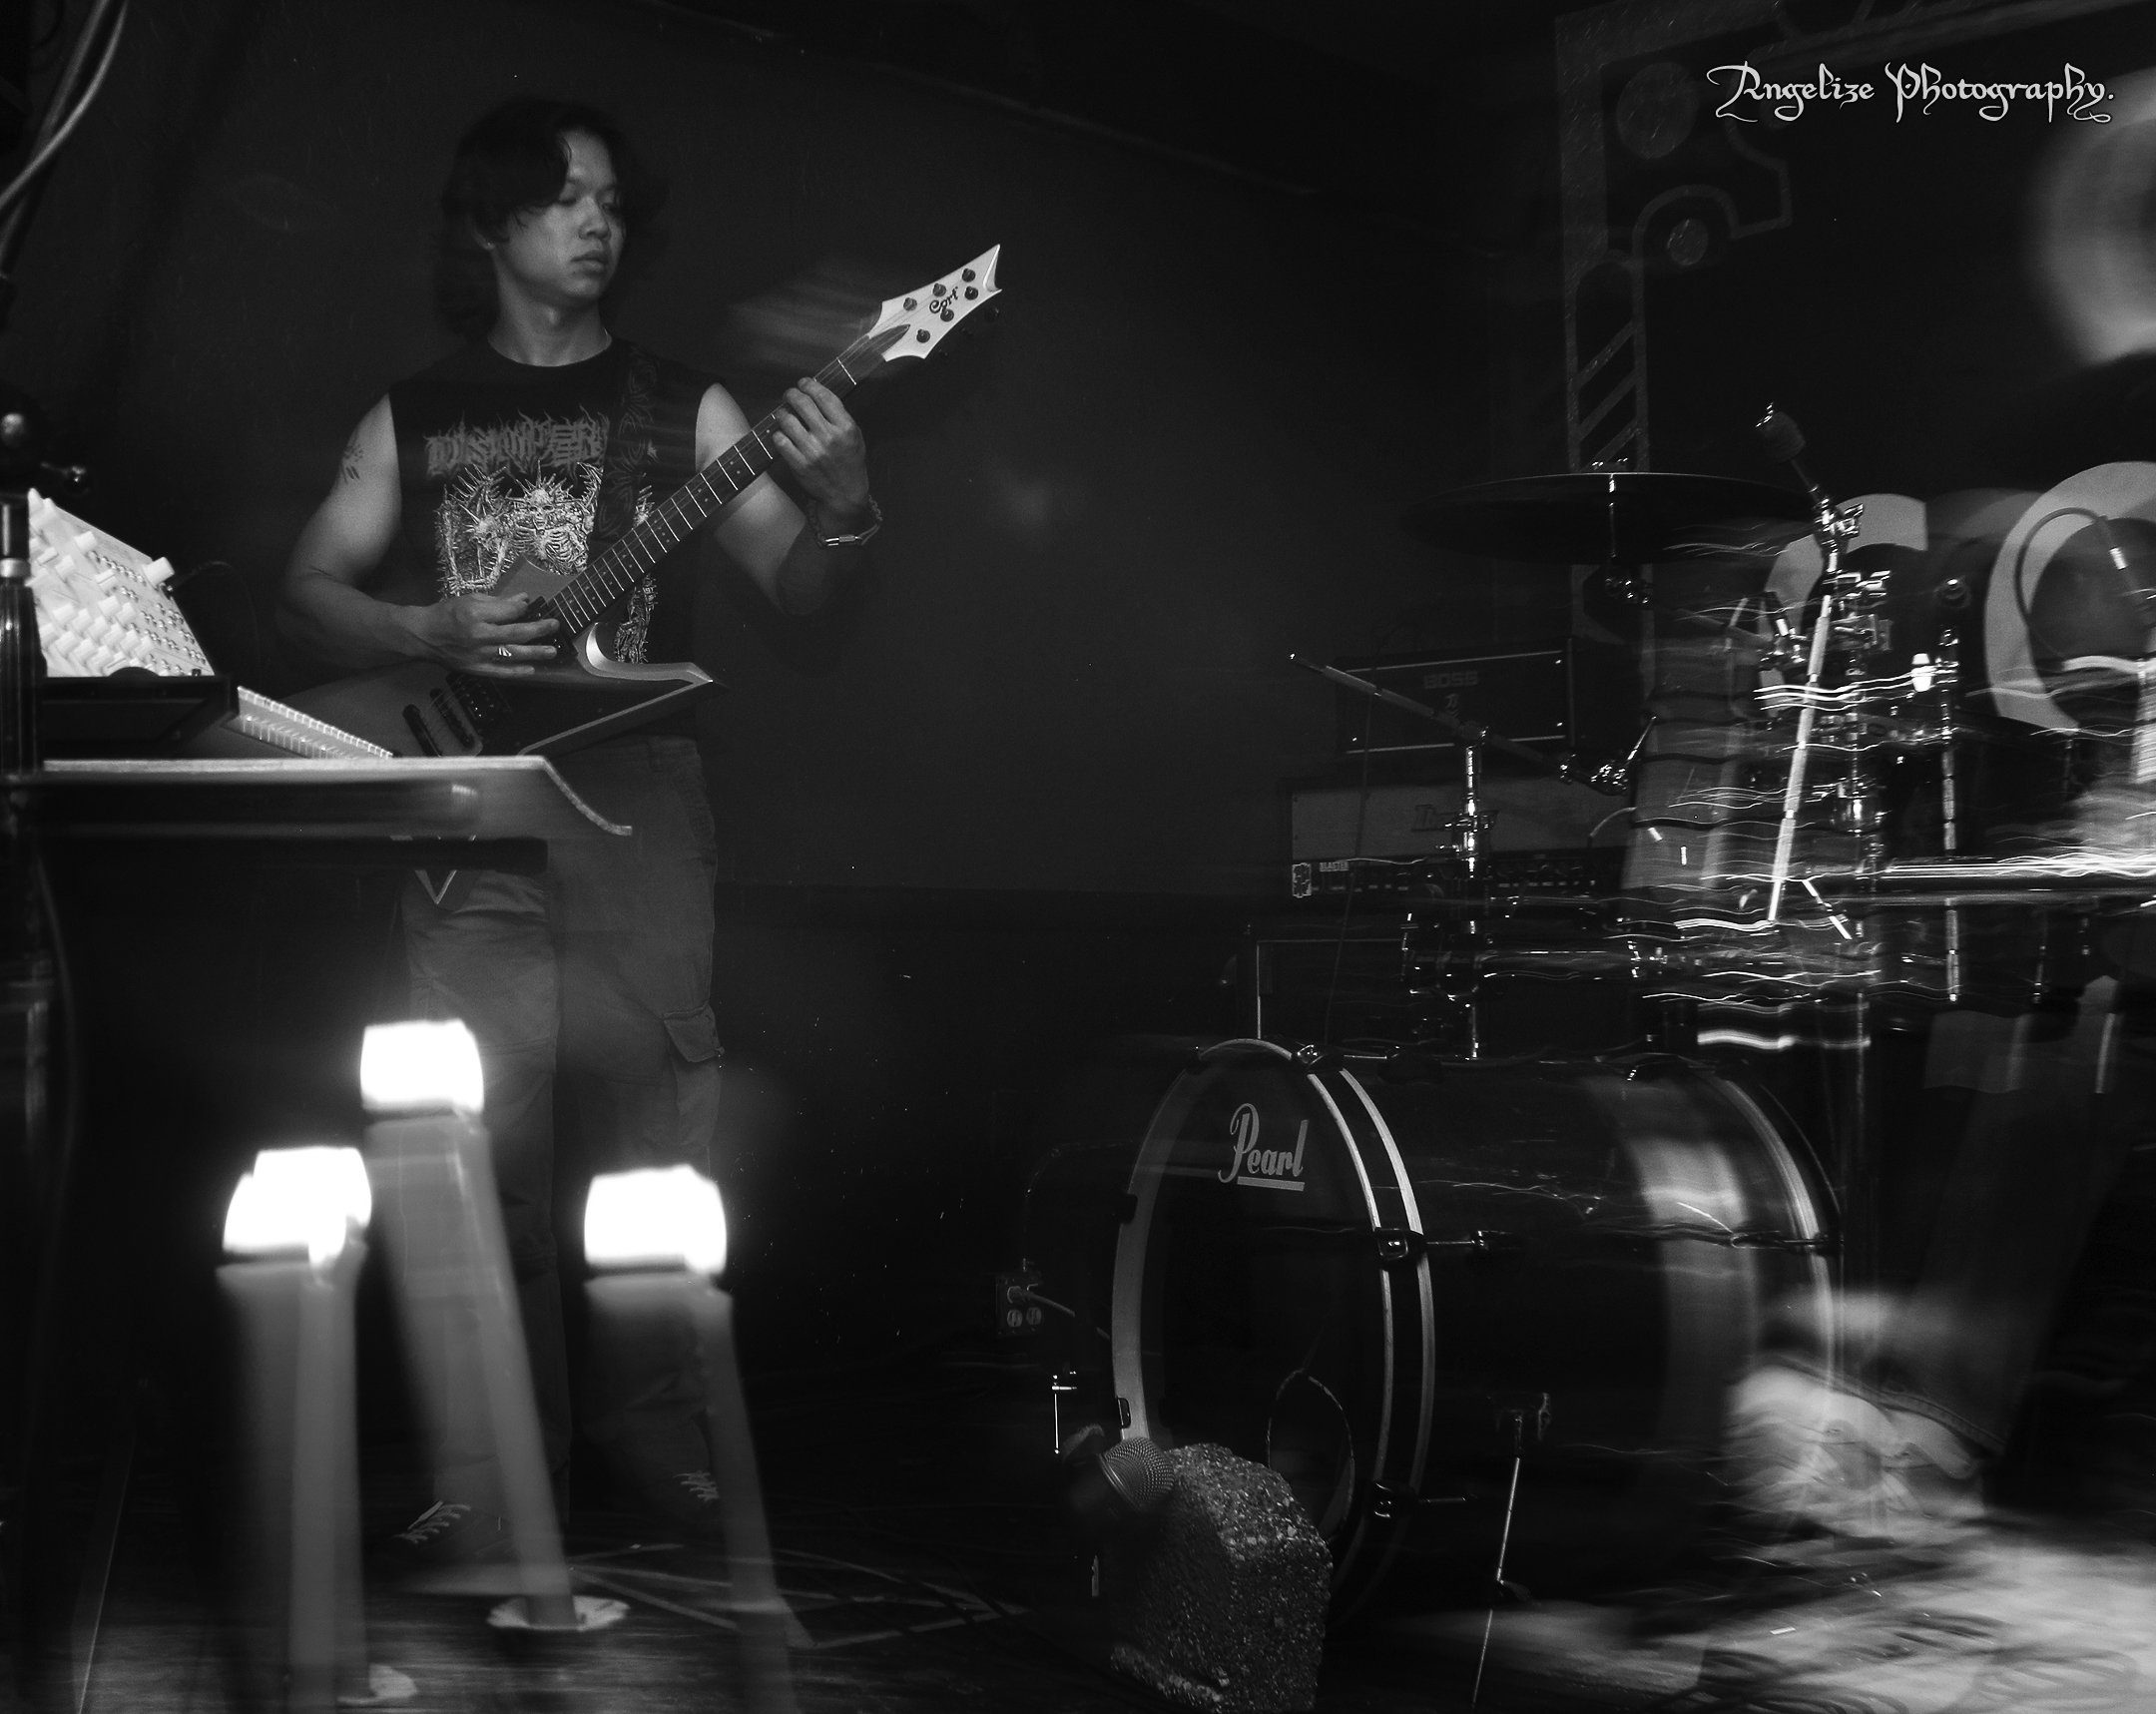
I was thrilled when I got the email today that my photos from the Fujifilm 400 scans were ready to download. Overall, I am very pleased with the outcome! Here are four of my top picks:


(Bands: Endless Swarm, Crohns, Human Obliteration)
I like the composition, nothing is blurry, everything looks fine. There are a few others that turned out nice, as well.
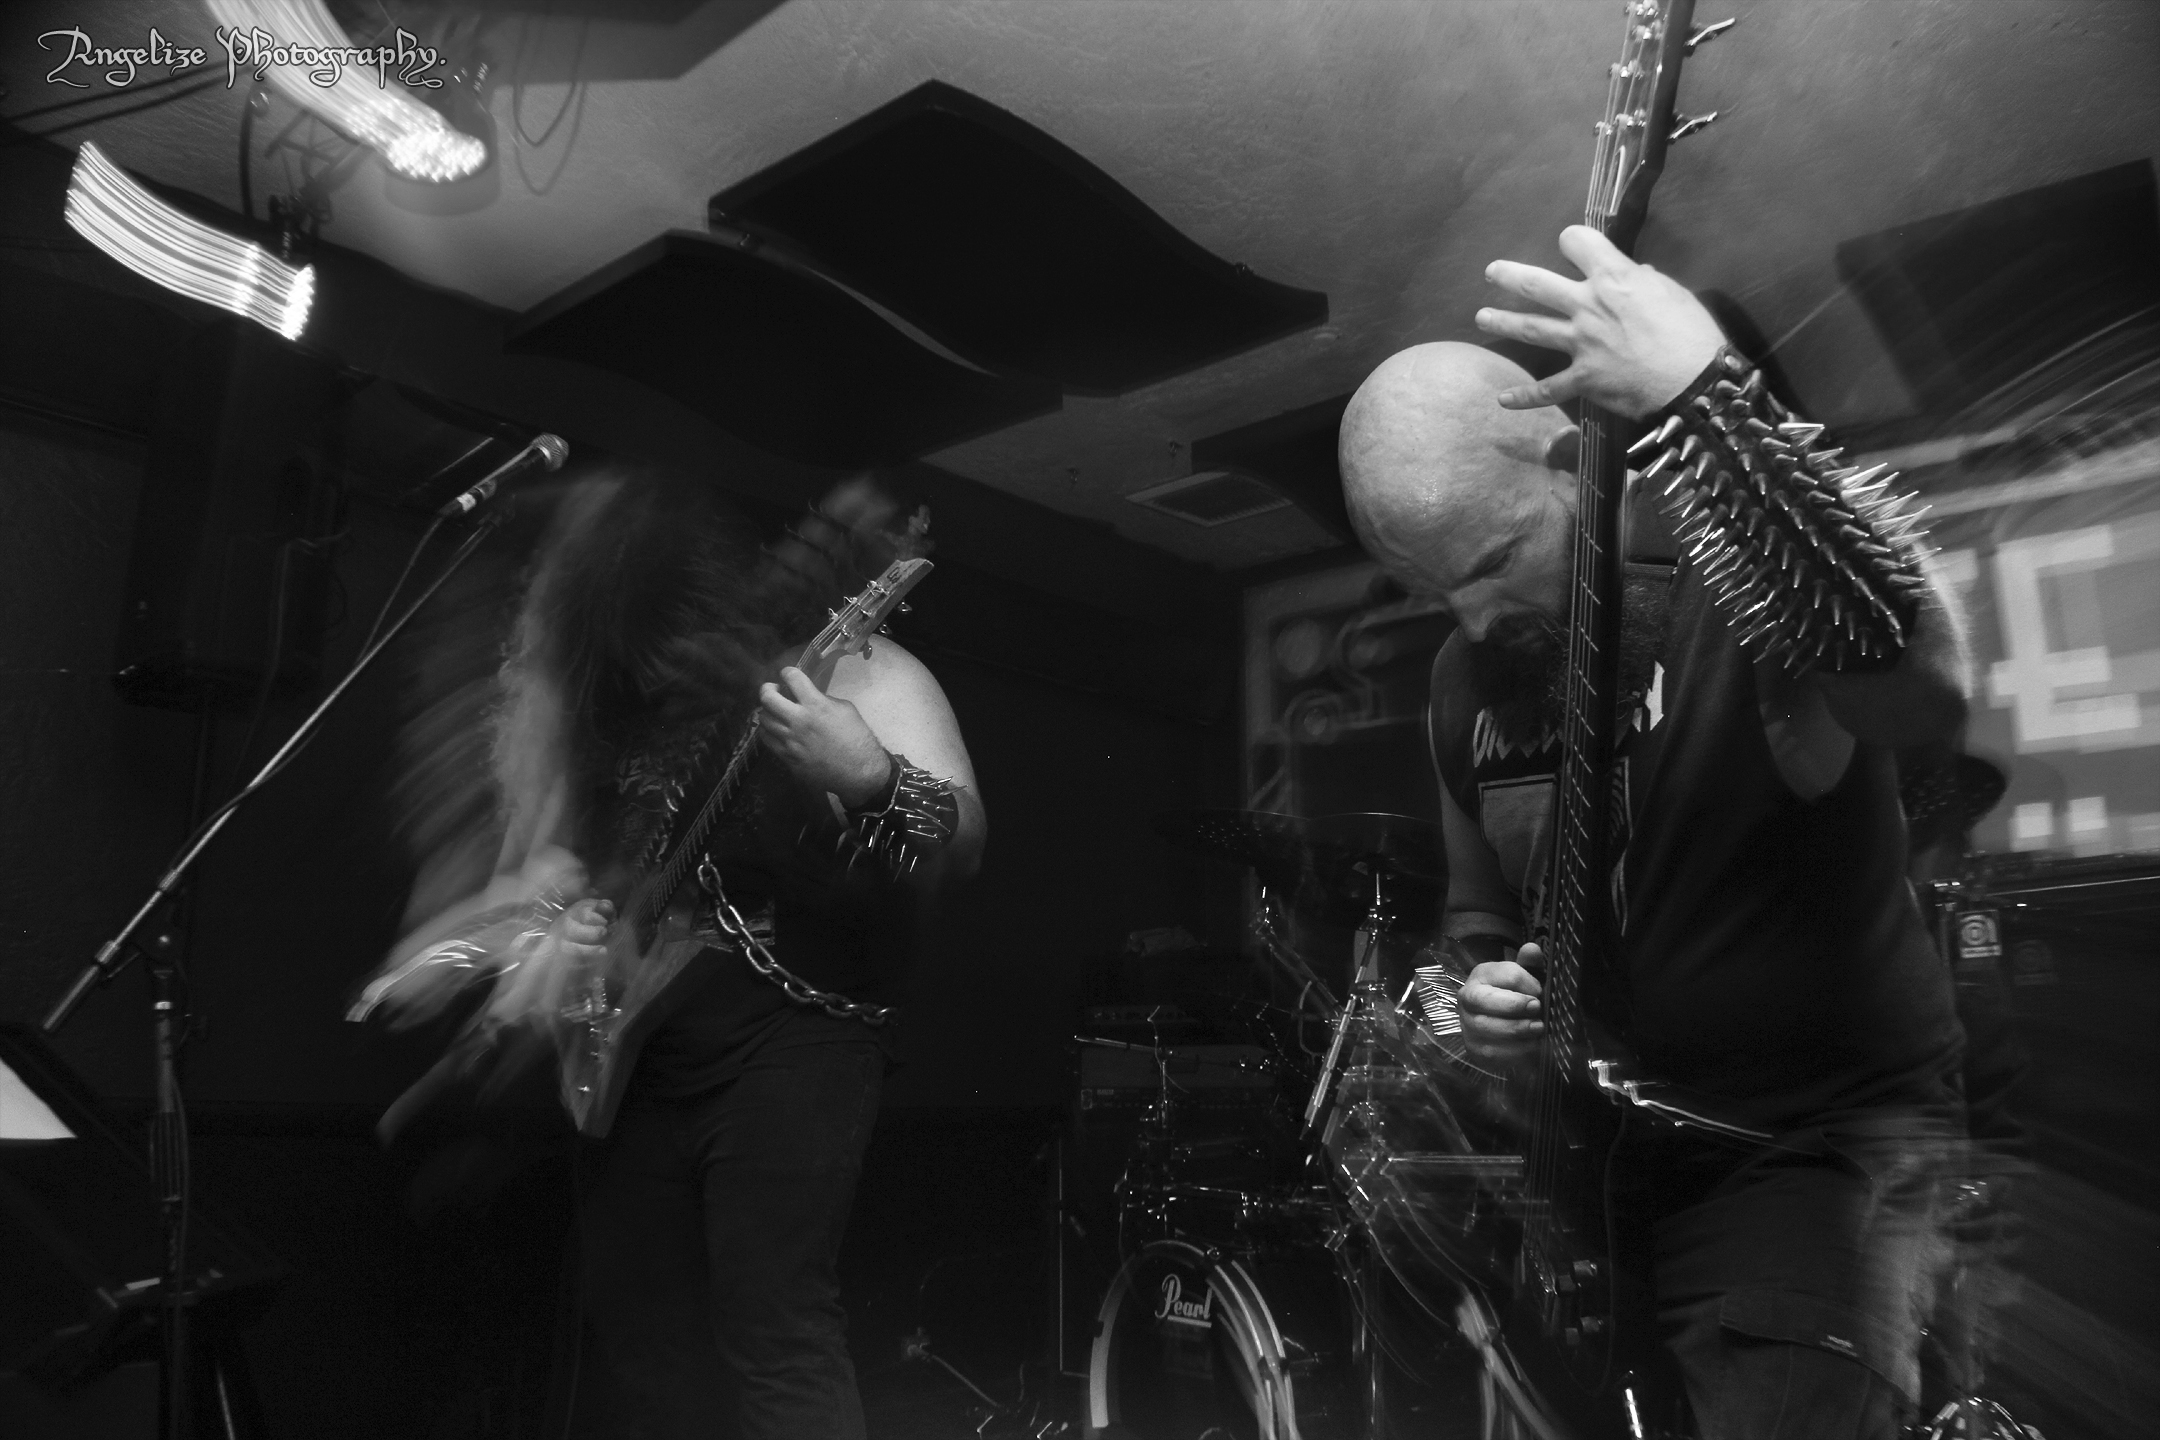
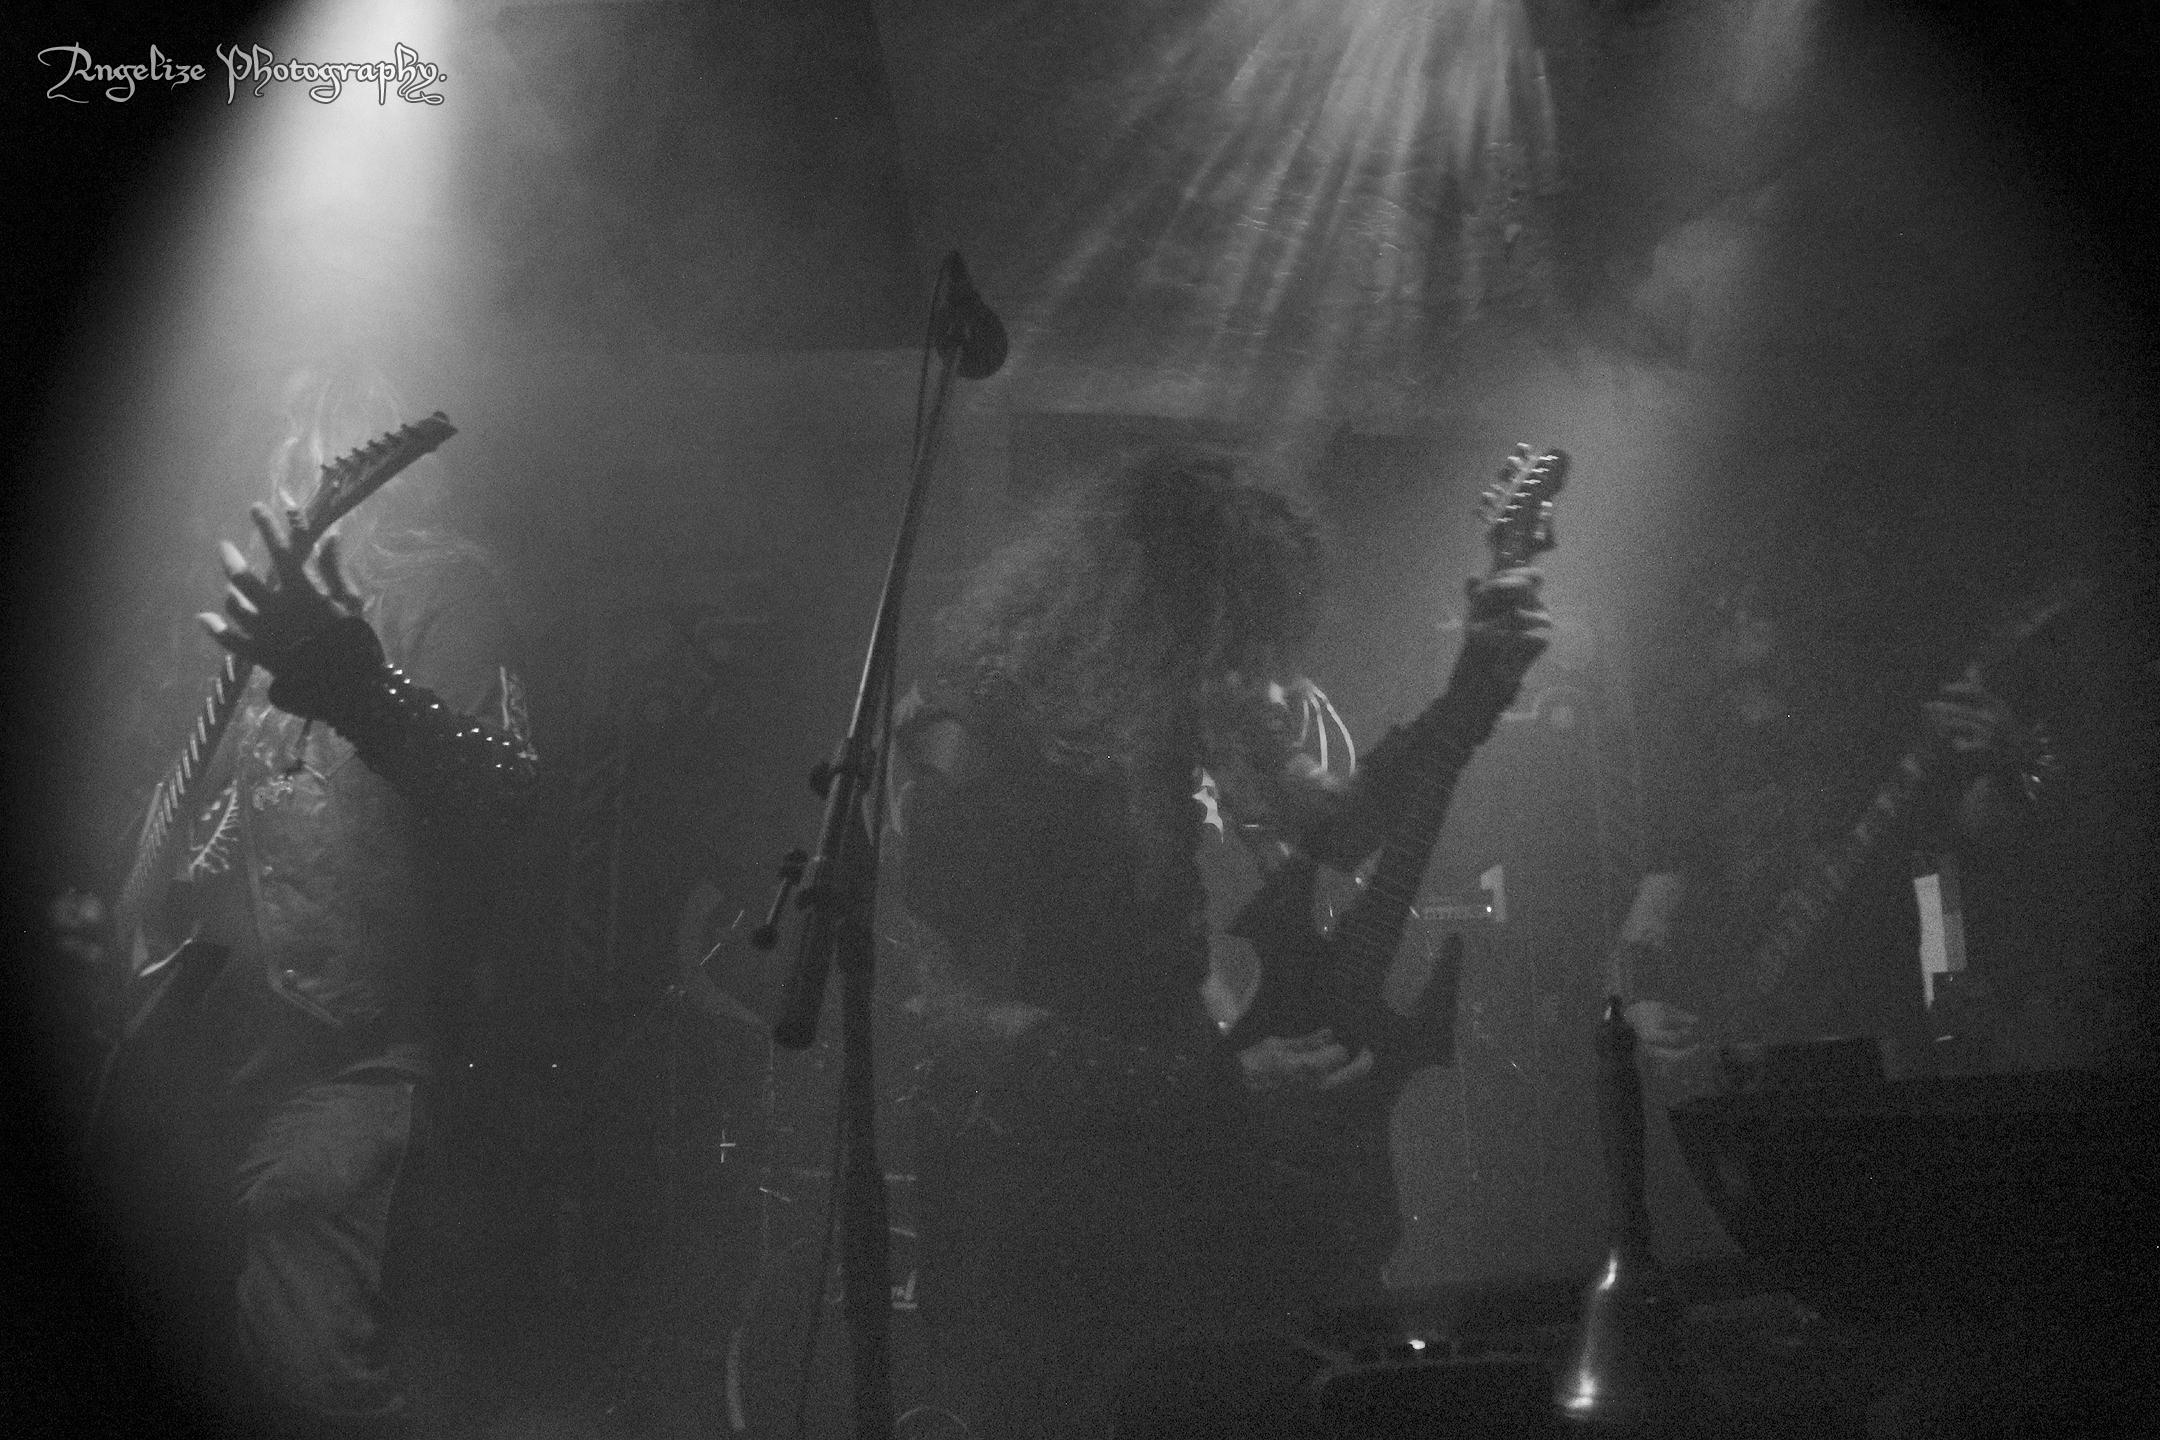
Unfortunately, there are some that could have been better. I was a little late hitting the shutter on some of them! This resulted in faces covered by the microphone, or heads turned, and I didn’t get the greatest shots. I noticed there is a very tiny delay when pressing the shutter. I’m not sure if that is the way the camera is meant to be or if it’s a defect because it’s old. Either way, I missed a few good shots due to changes in position made in just a fraction of time.
Another issue was some of the subjects closer to me turned out blurry but everything in the background came out sharp! That was a bummer because I missed the chance to take some really neat pictures. But now I am aware this camera does that and can be mindful in the future. Maybe there is a way to prevent this from happening and I need to explore the features of this camera a little more, but the camera is pretty simple, and I don’t know what adjustments could be made.
I added all the photos to my gallery:
If you click on each picture it will show the band name and you can also save the pictures.
I’ve included all of them so everyone can see the little flaws I pointed out. I do love the look and excitement of film, but it’s also challenging because you don’t know what you’re going to get. I can walk away from a show with my digital camera and say, “I know I got some good ones”, but it’s a surprise with film. Gotta hope for the best!
I’ll share my next roll of film when it’s ready!